
[템플릿 활용하기]

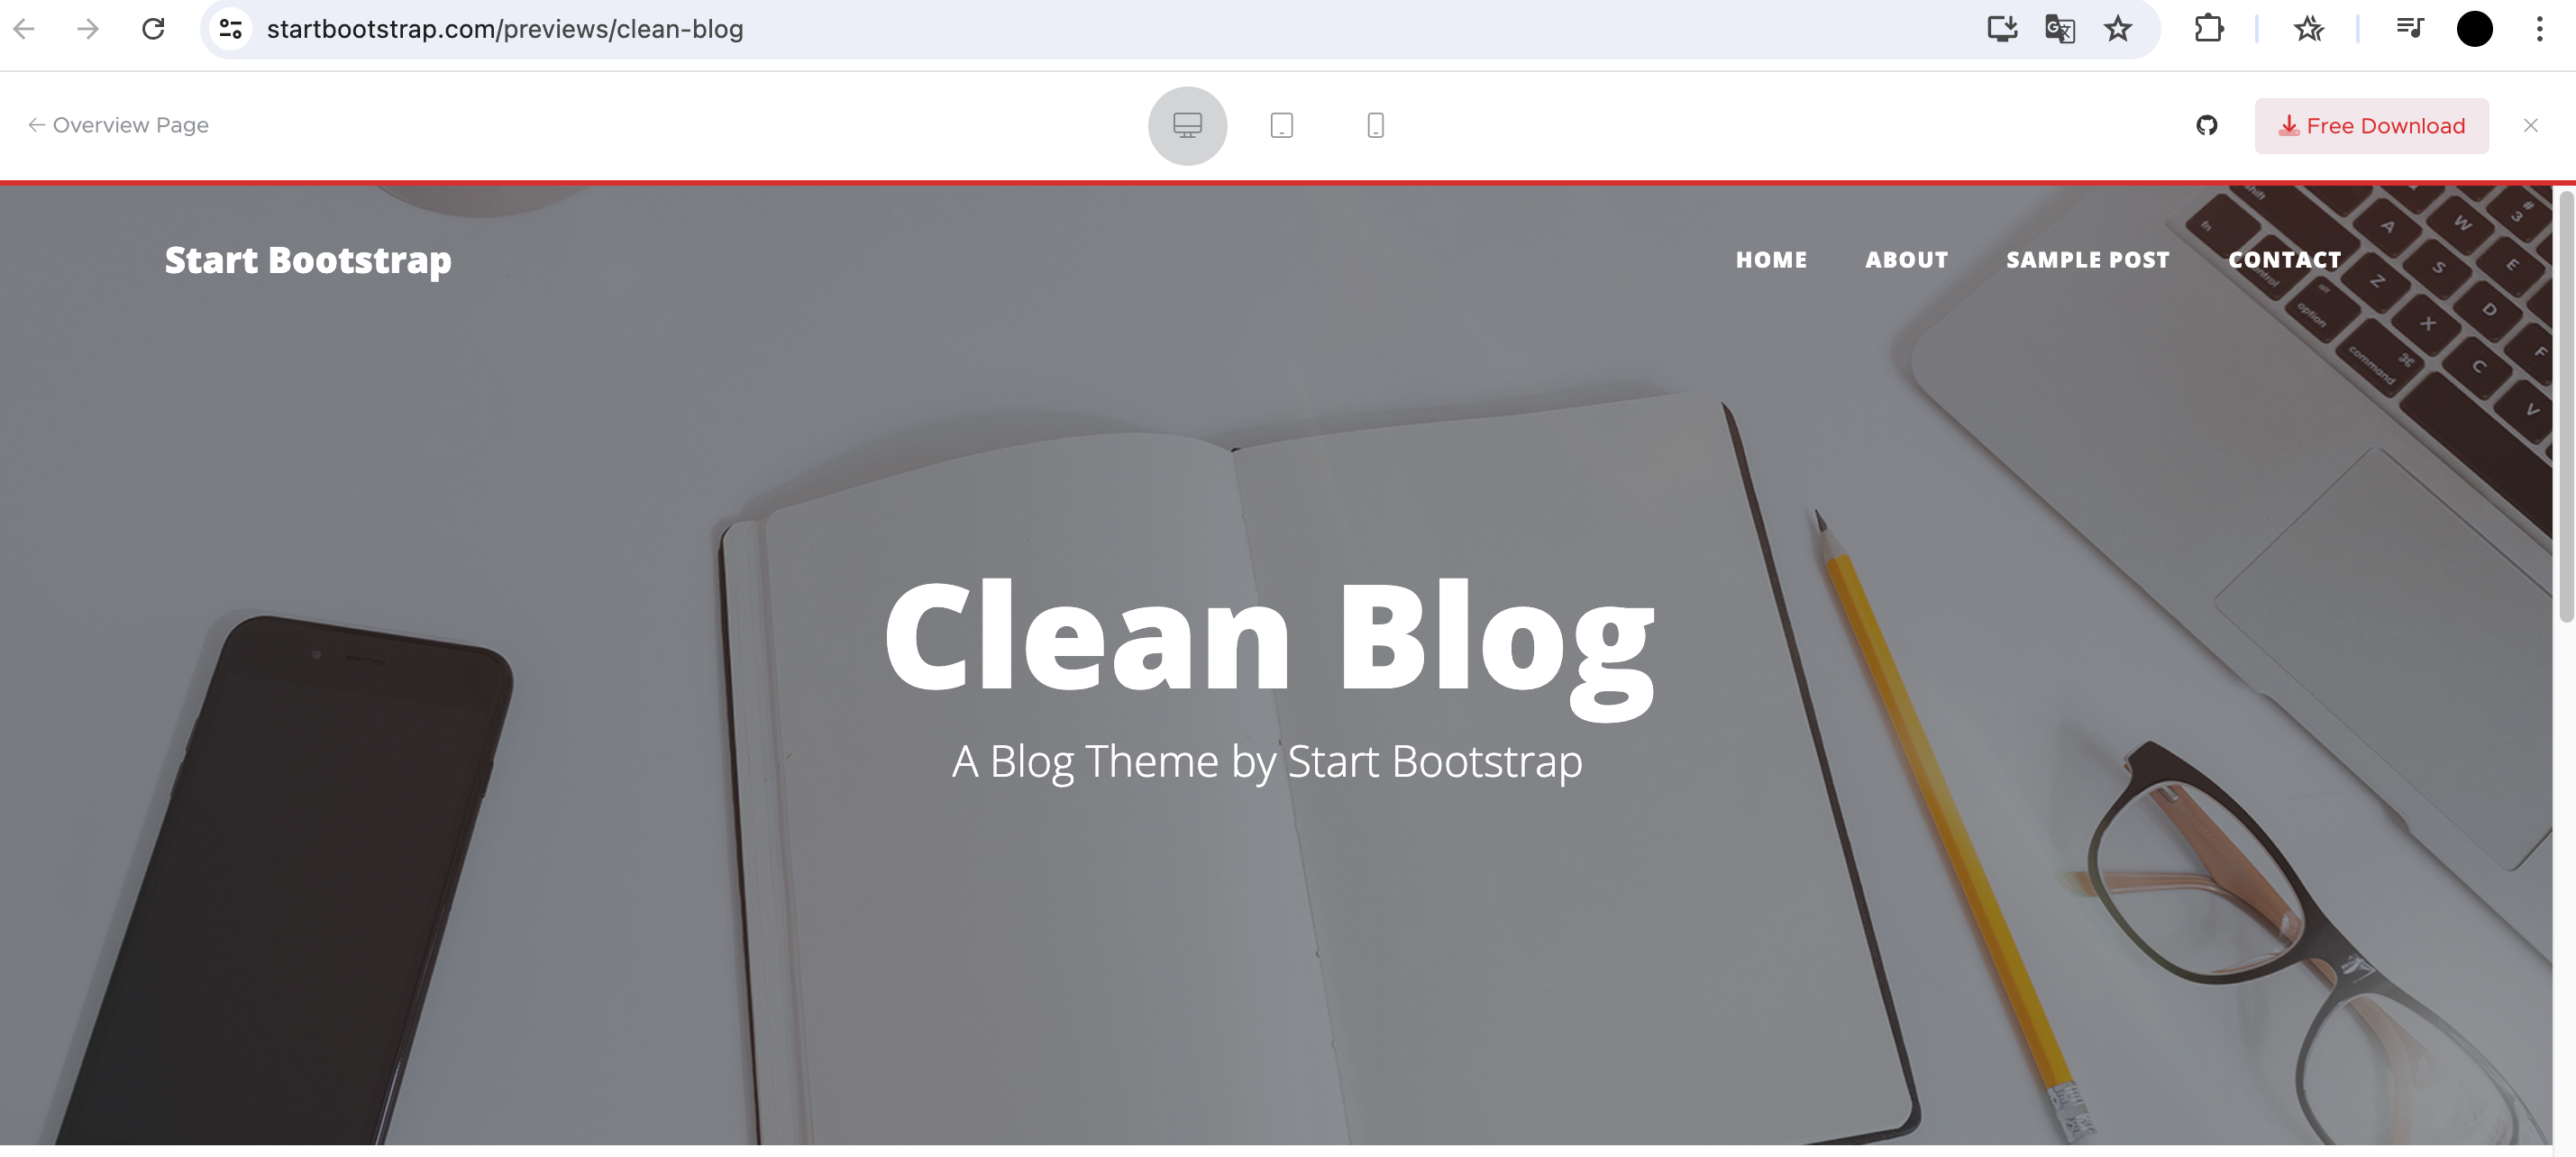
<html lang="ko">
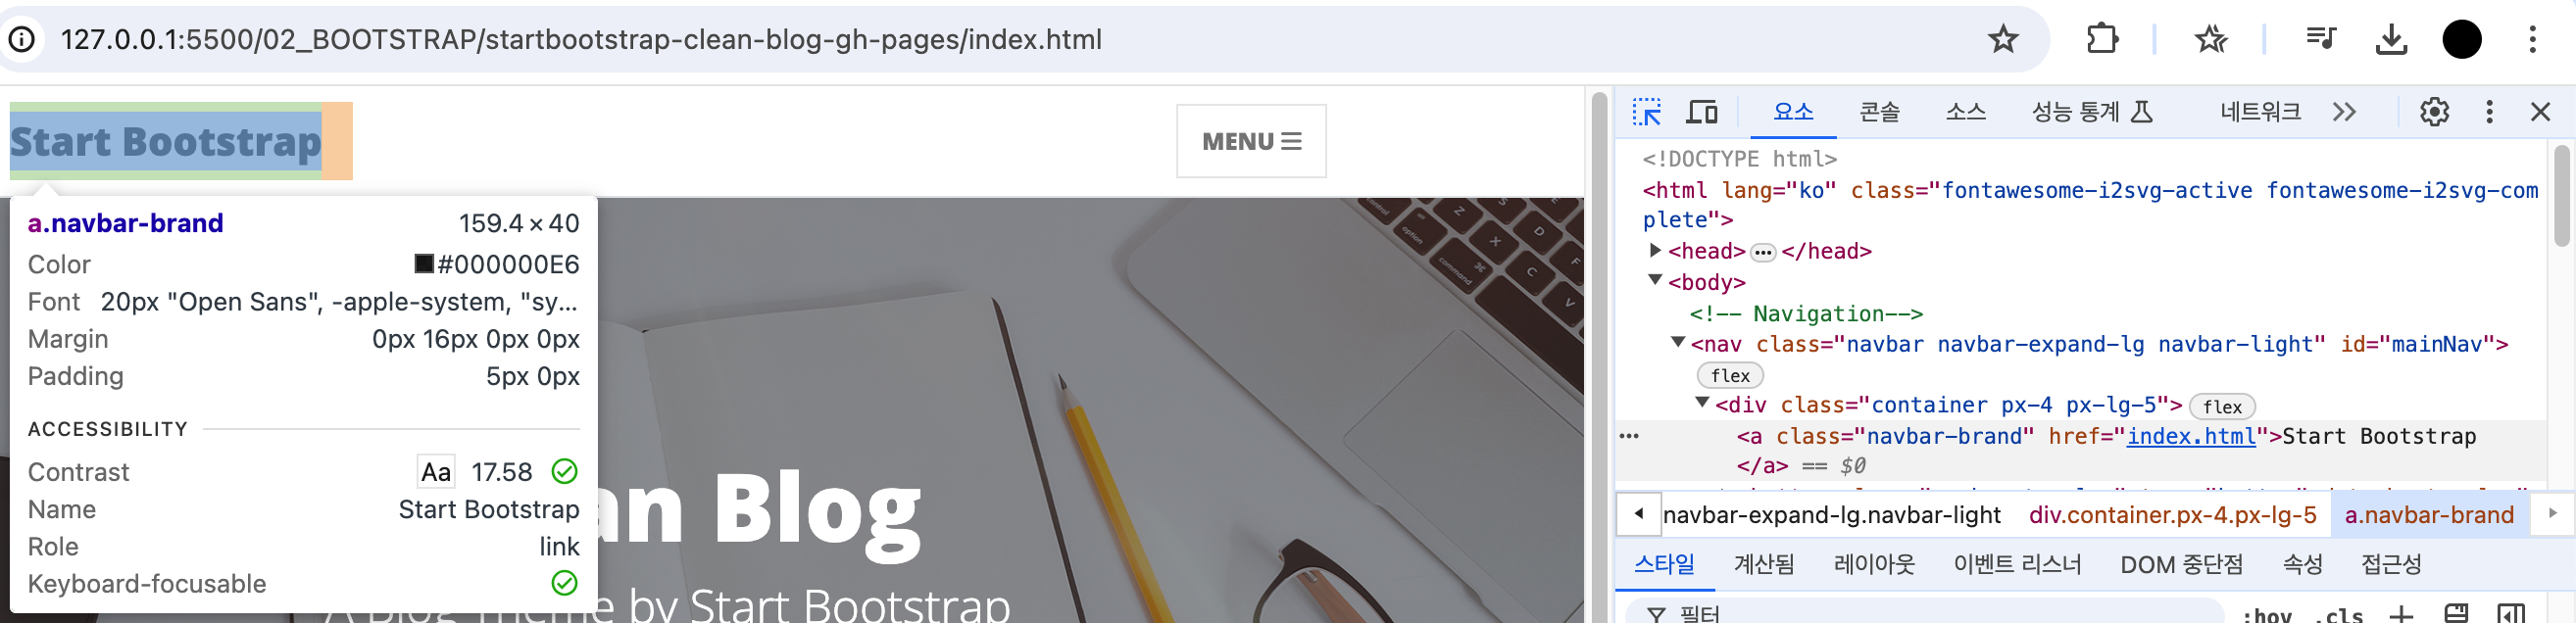

샘플의 아래내용을 하나씩 변경합니다.

a 태그들은 모두 수정합니다.
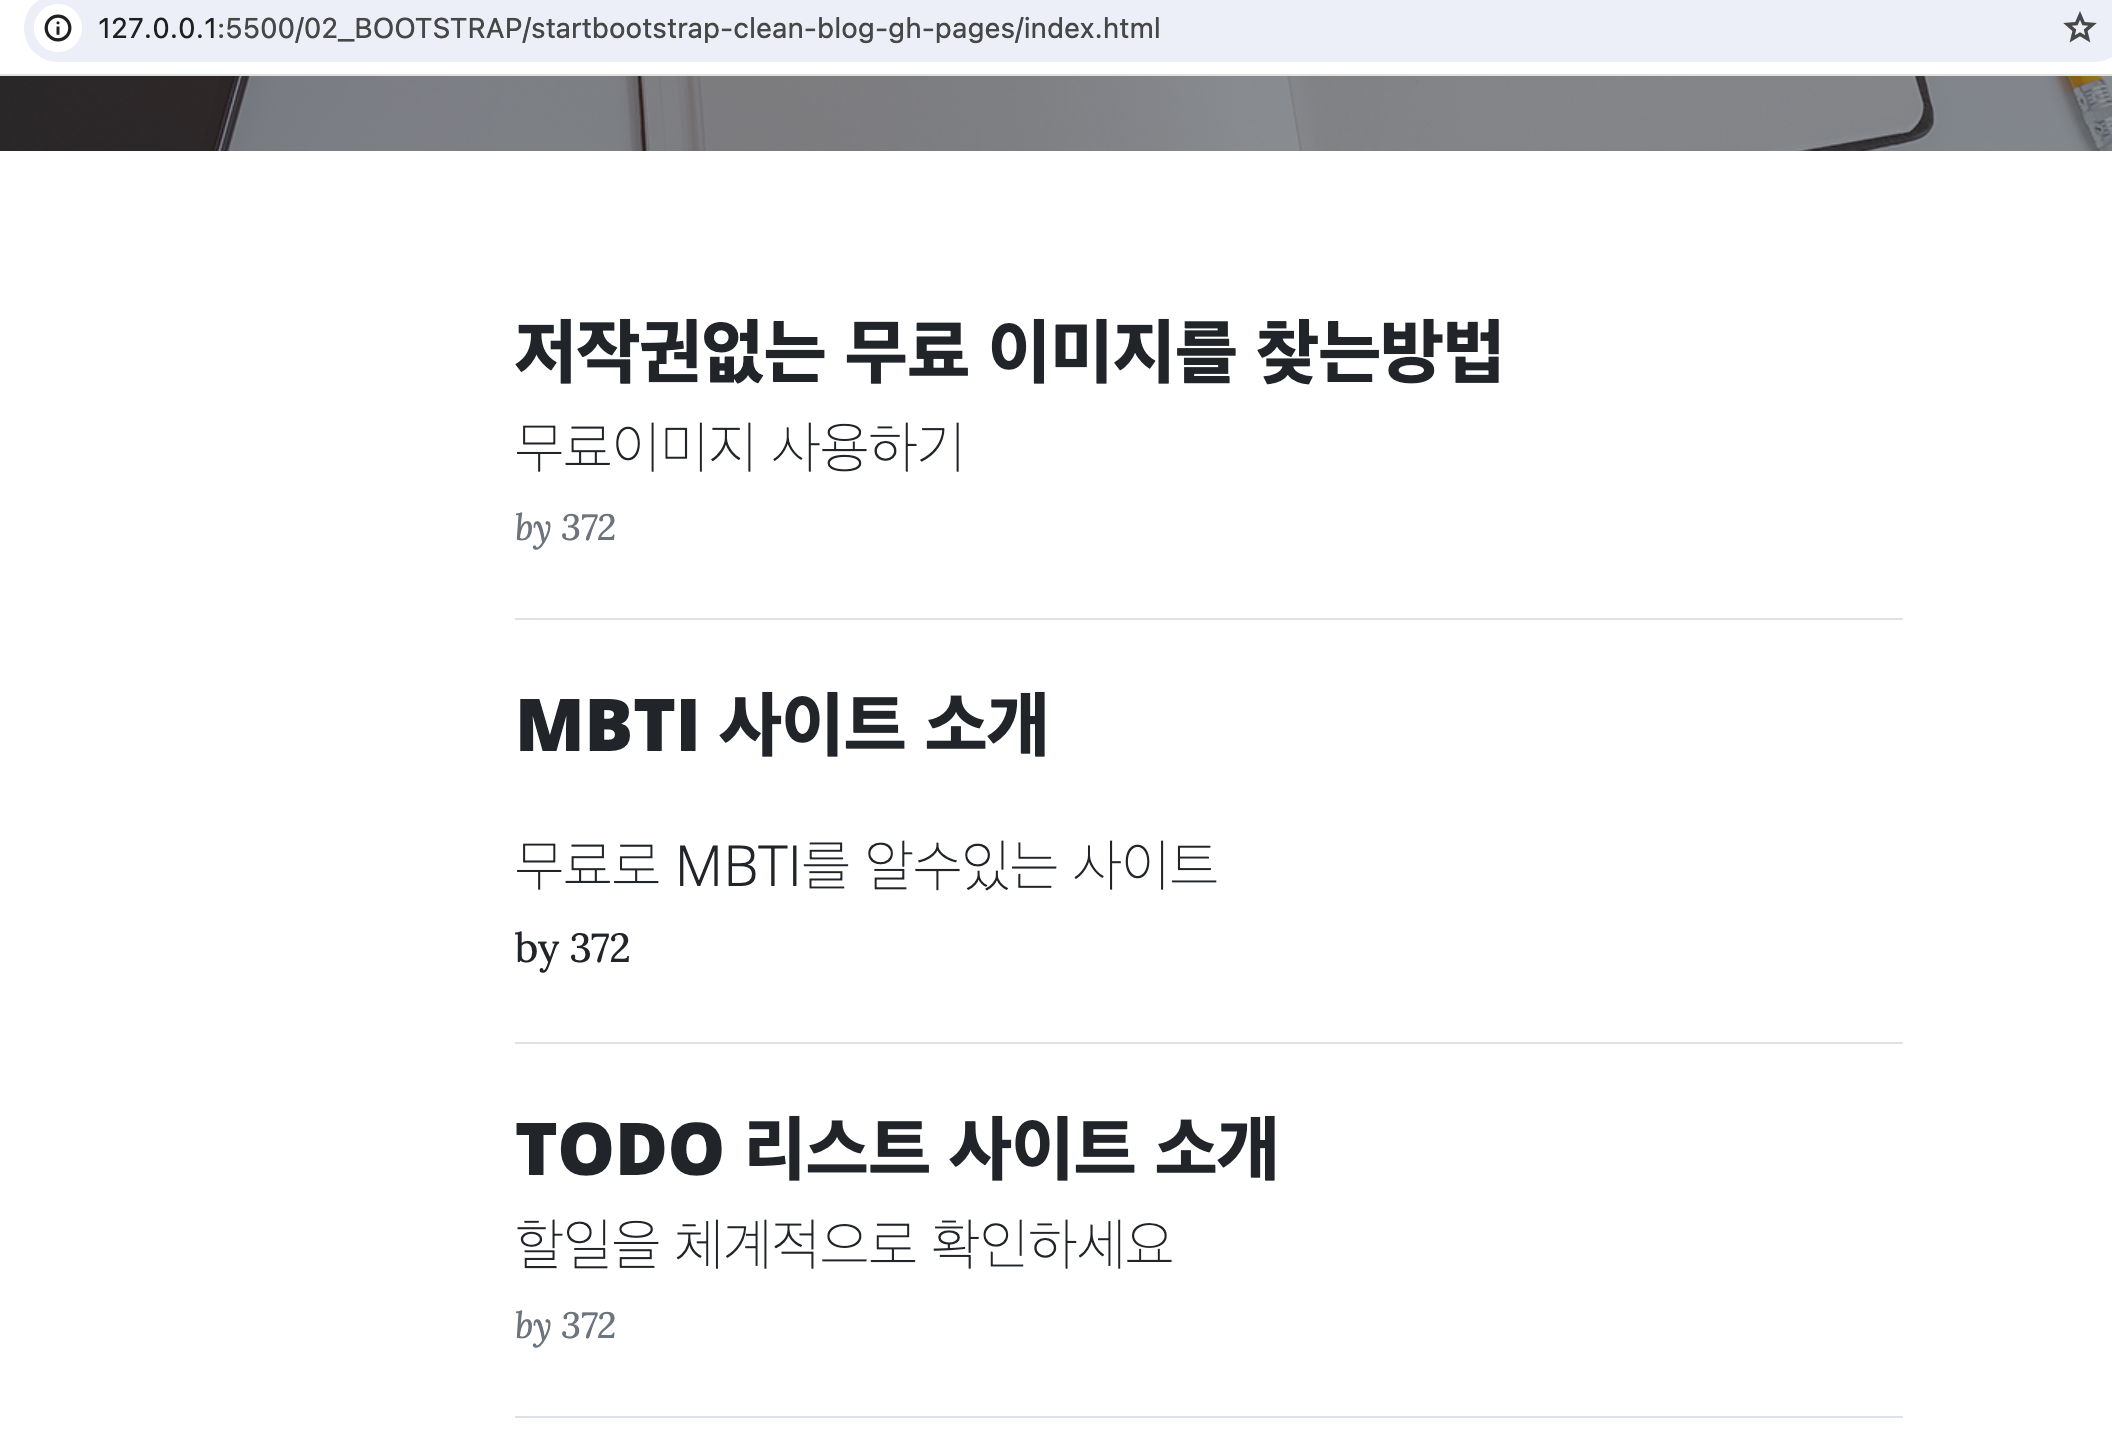
<div class="post-preview">
<a href="post.html">
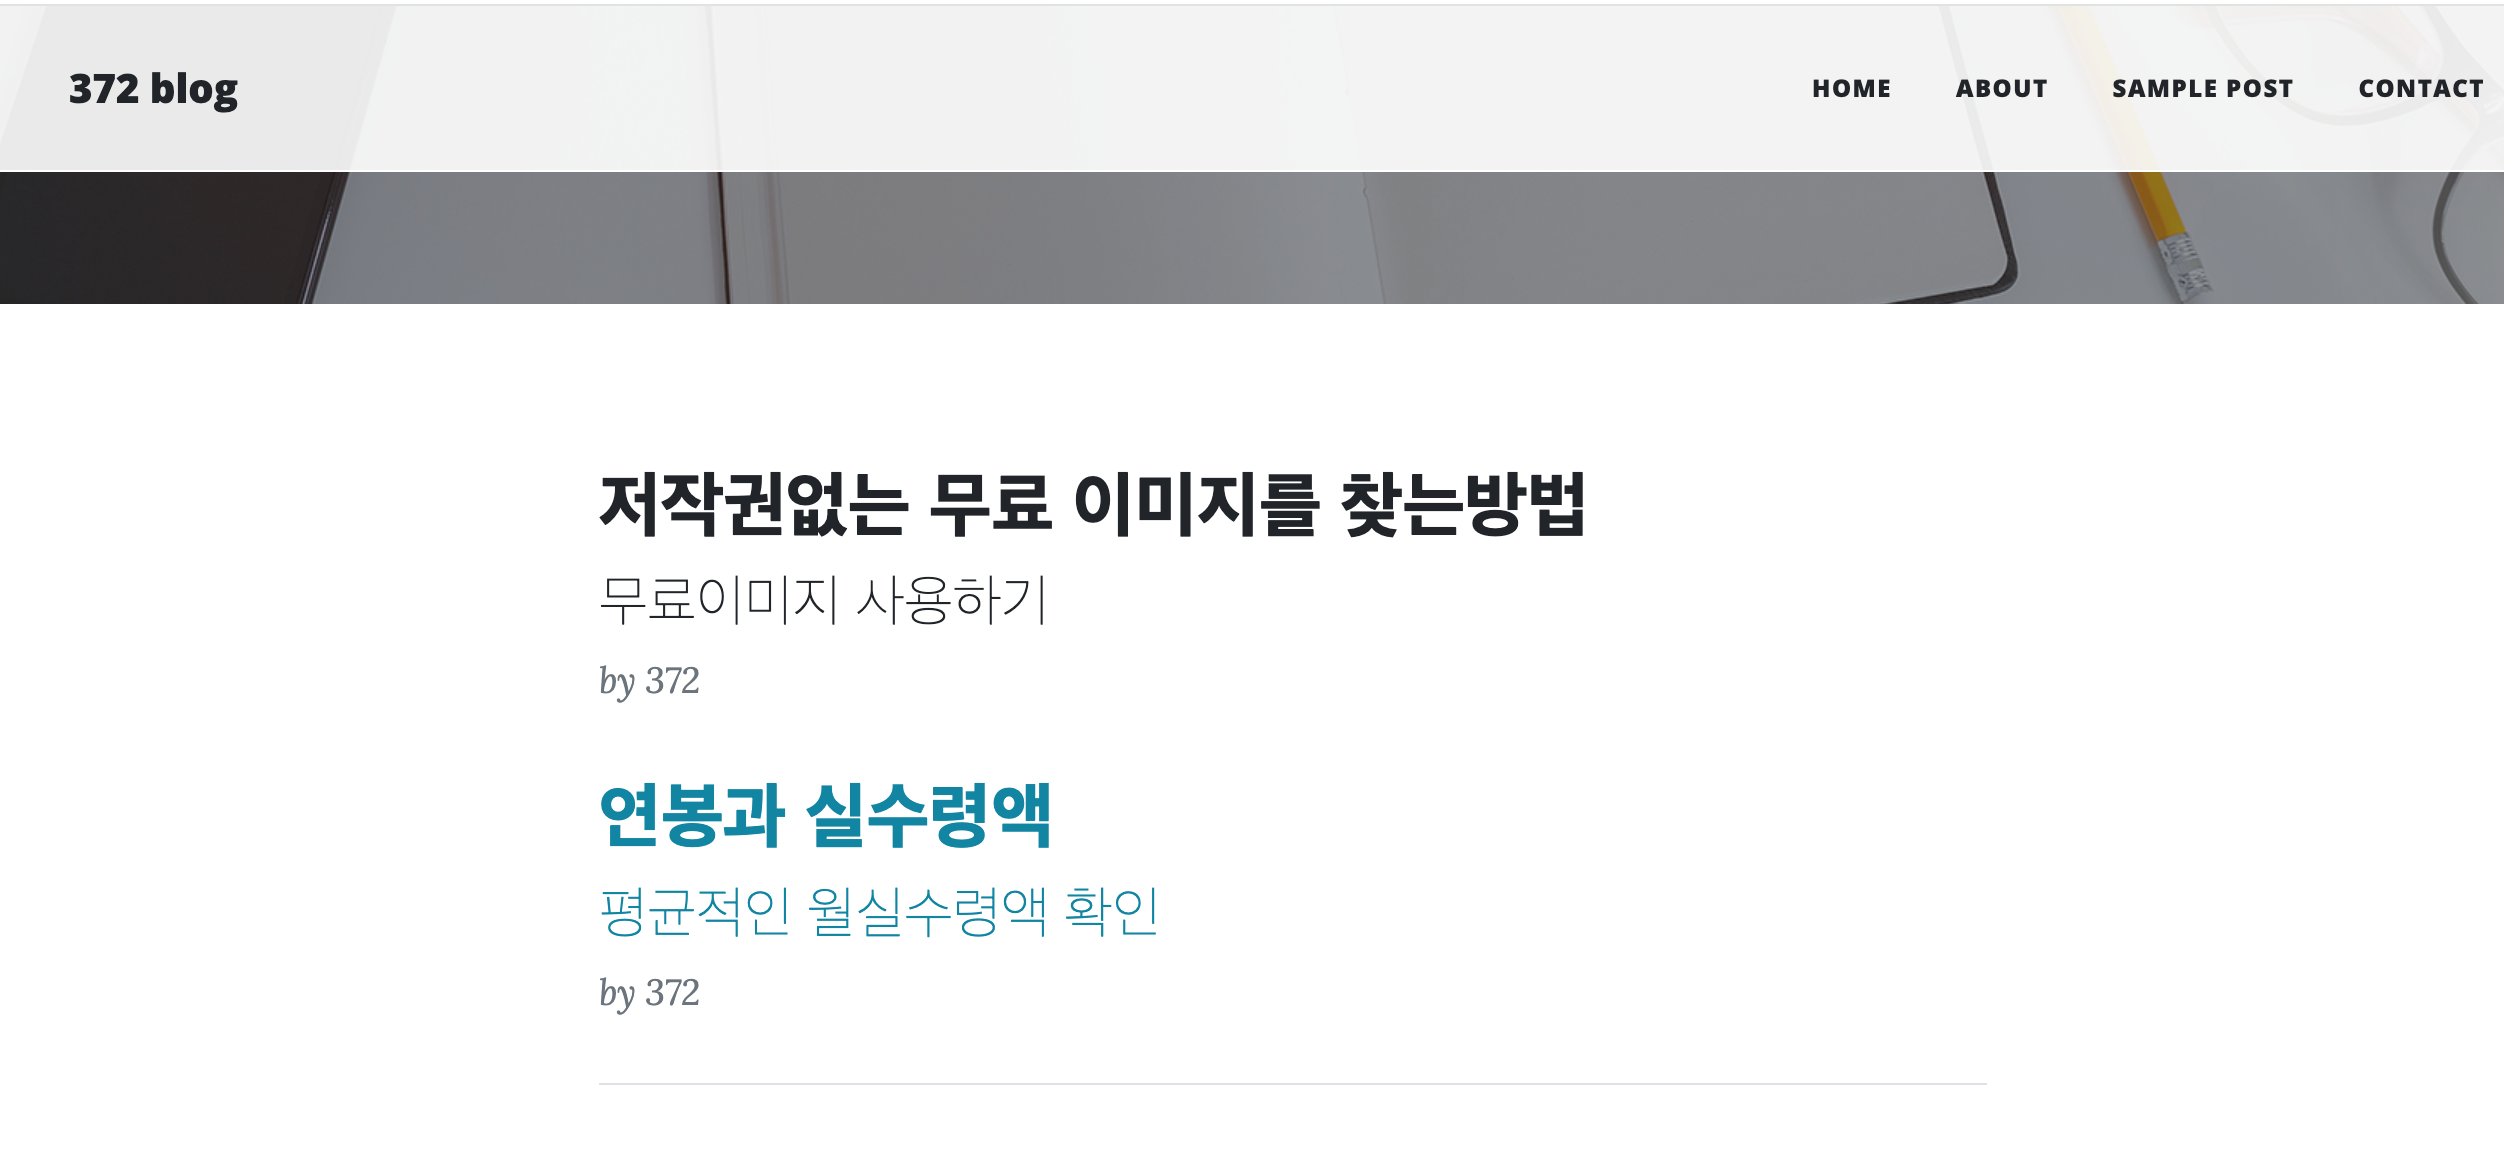
<h2 class="post-title"> 저자권없는 무료 이미지를 찾는방법</h2>
<h3 class="post-subtitle">무료이미지 사용하기</h3>
</a>
<p class="post-meta">
by 372
</p>
</div>
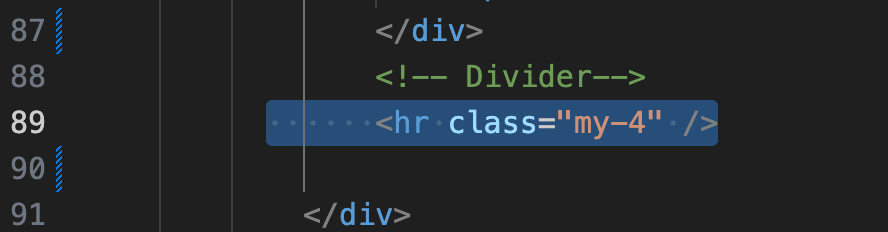
<!-- Divider-->
<hr class="my-4" />
<!-- Post preview-->
<div class="post-preview">
<a href="post.html">
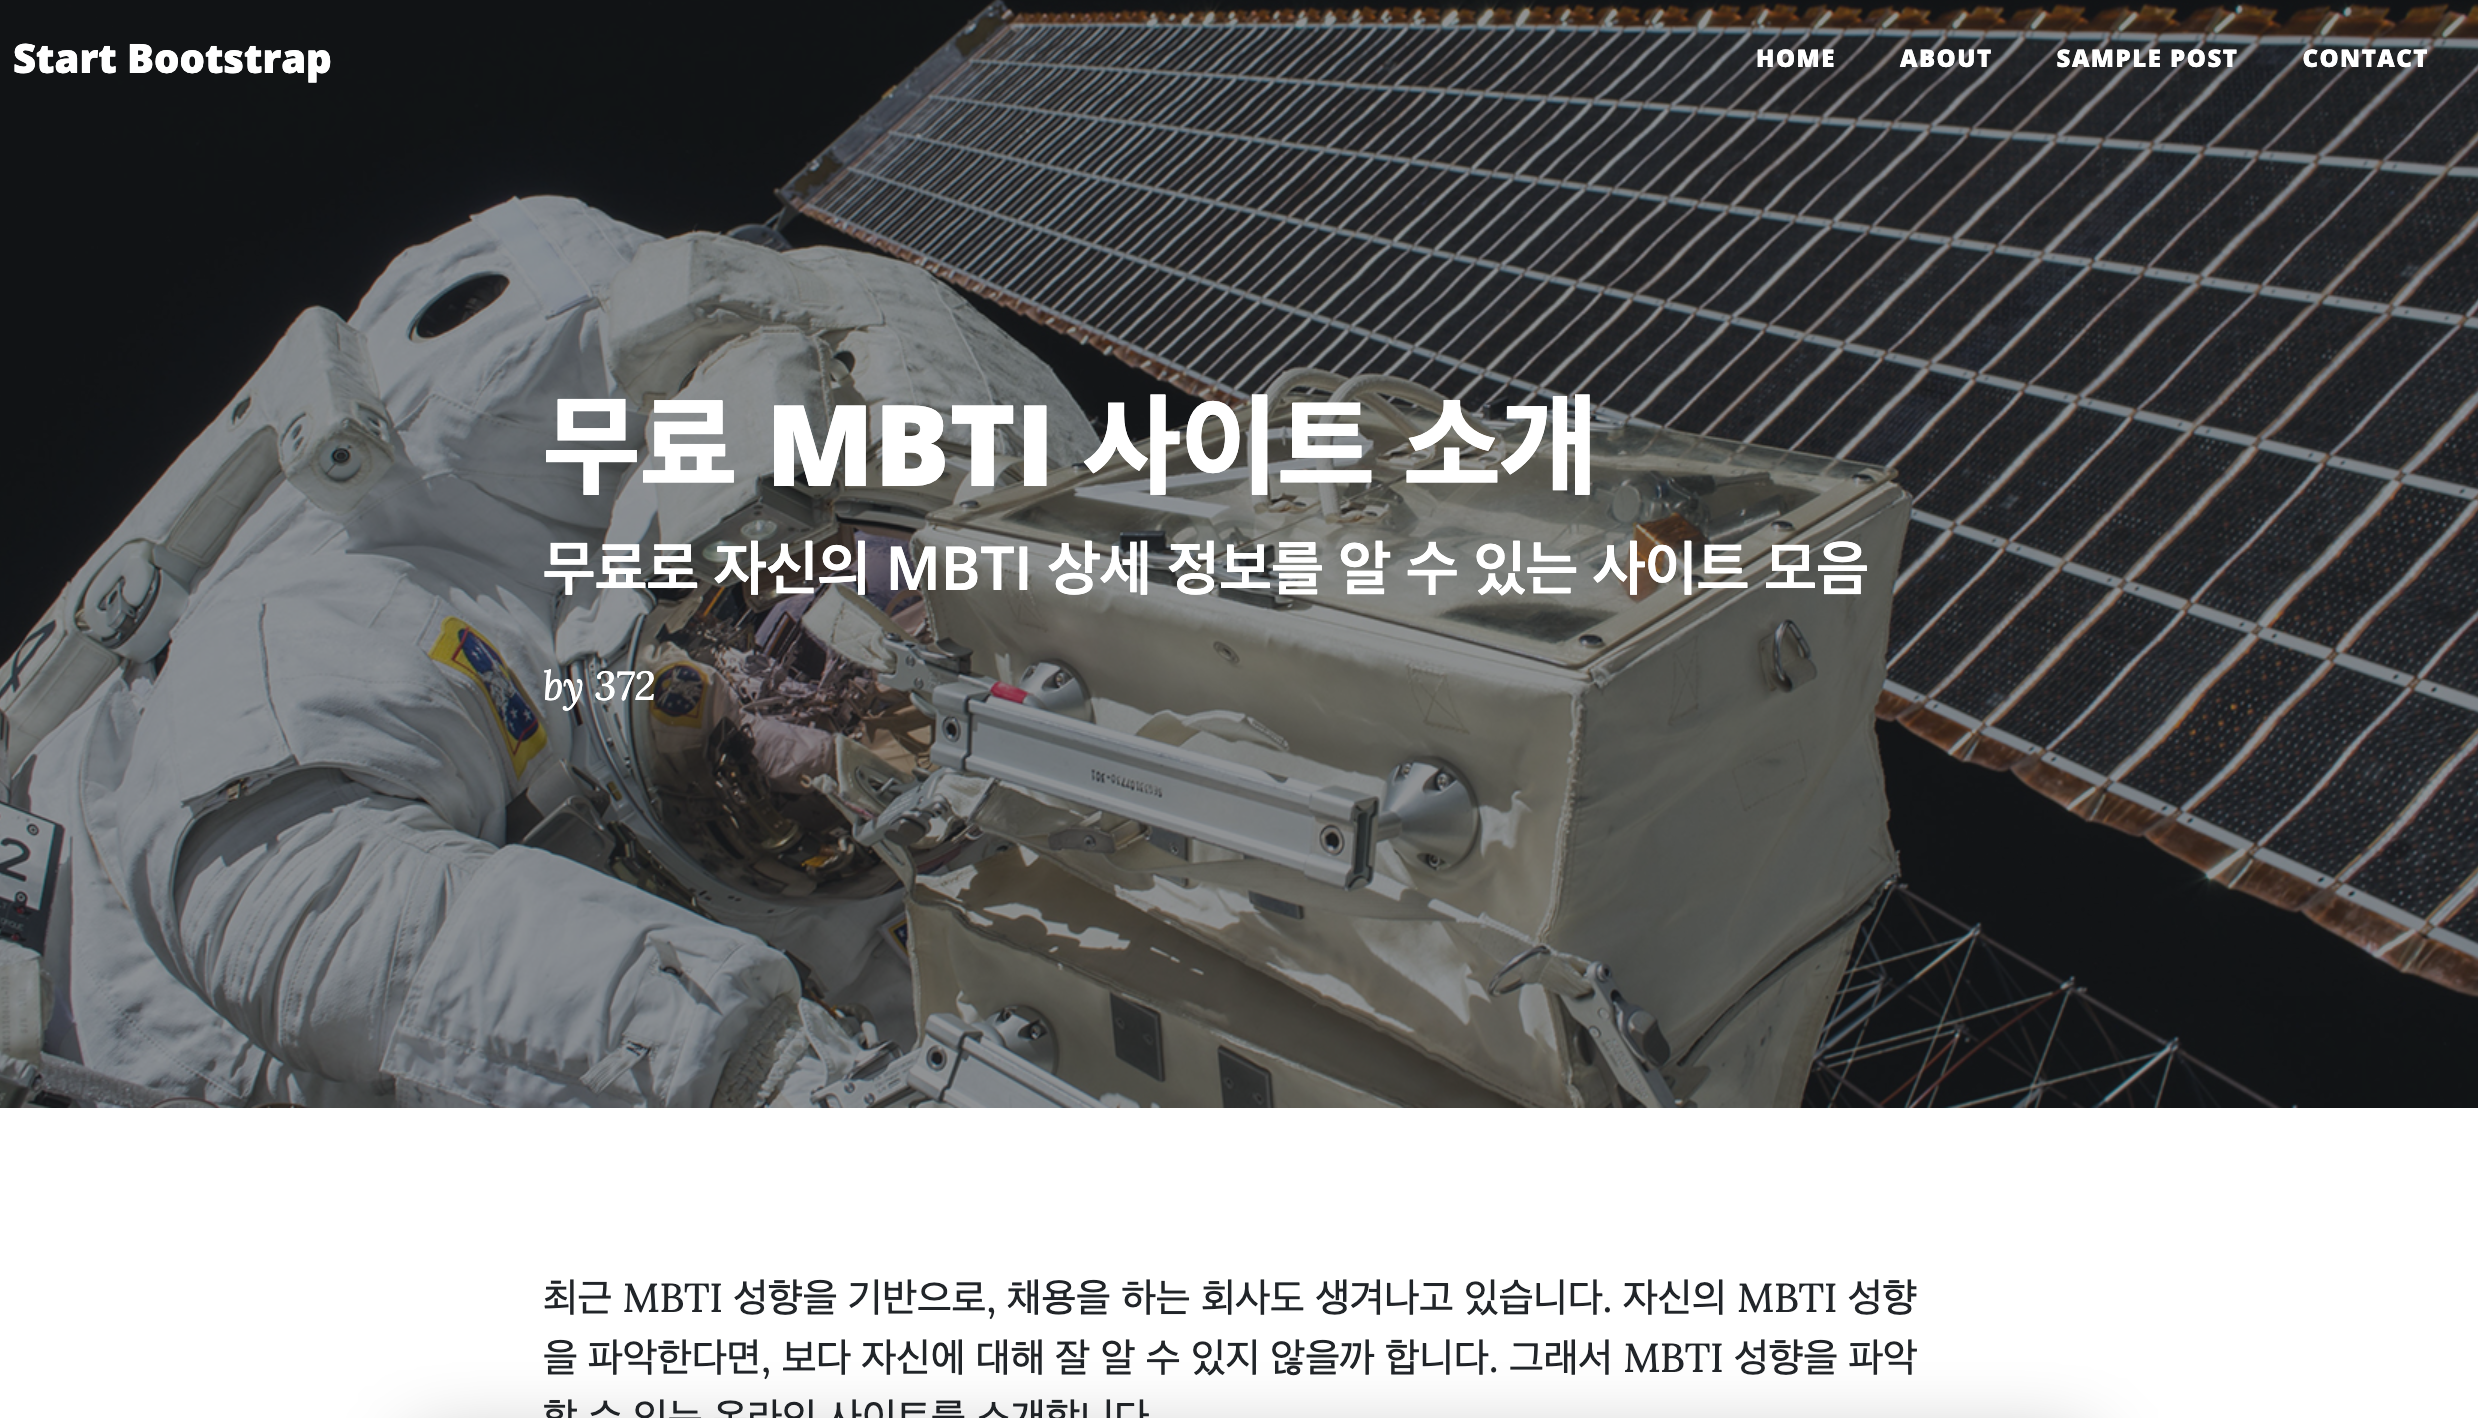
<h2 class="post-title">MBTI 사이트 소개 <p class="post-meta">
<h3 class="post-subtitle">무료로 MBTI를 알수있는 사이트</h3>
by 372
</p>
</div>
<!-- Divider-->
<hr class="my-4" />
<!-- Post preview-->
<div class="post-preview">
<a href="post.html">
<h2 class="post-title">TODO 리스트 사이트 소개</h2>
<h3 class="post-subtitle">할일을 체계적으로 확인하세요</h3>
</a>
<p class="post-meta">
by 372
</p>
</div>
그리고 안쓰는 내용들을 삭제한다.


필요없는 부분은 코드를 찾아서 삭제한다. [OLDER POSTS] 삭제


완성본

각페이지 마다 연결 가능한 post 페이지를 3개 만듭니다.
    <a href="post_free.html">
 <h2 class="post-title"> 저작권없는 무료 이미지를 찾는방법</h2>
 <h3 class="post-subtitle">무료이미지 사용하기</h3>
   </a>
<p class="post-meta">
  by 372

 </p>
 </div>


(중략)
    <a href="post_mbti.html">

(중략)
    <a href="post_todo.html">
아래와같이 원본에서 post_free에 맞게 수정
[post_free.html 수정]
하단내용 삽입

각 링크 삽입
복사본으로 mbti_post를 다시 만든다
[post_mbti.html 수정]

mbti 사이트로 링크 변경
<div class="col-md-10 col-lg-8 col-xl-7">
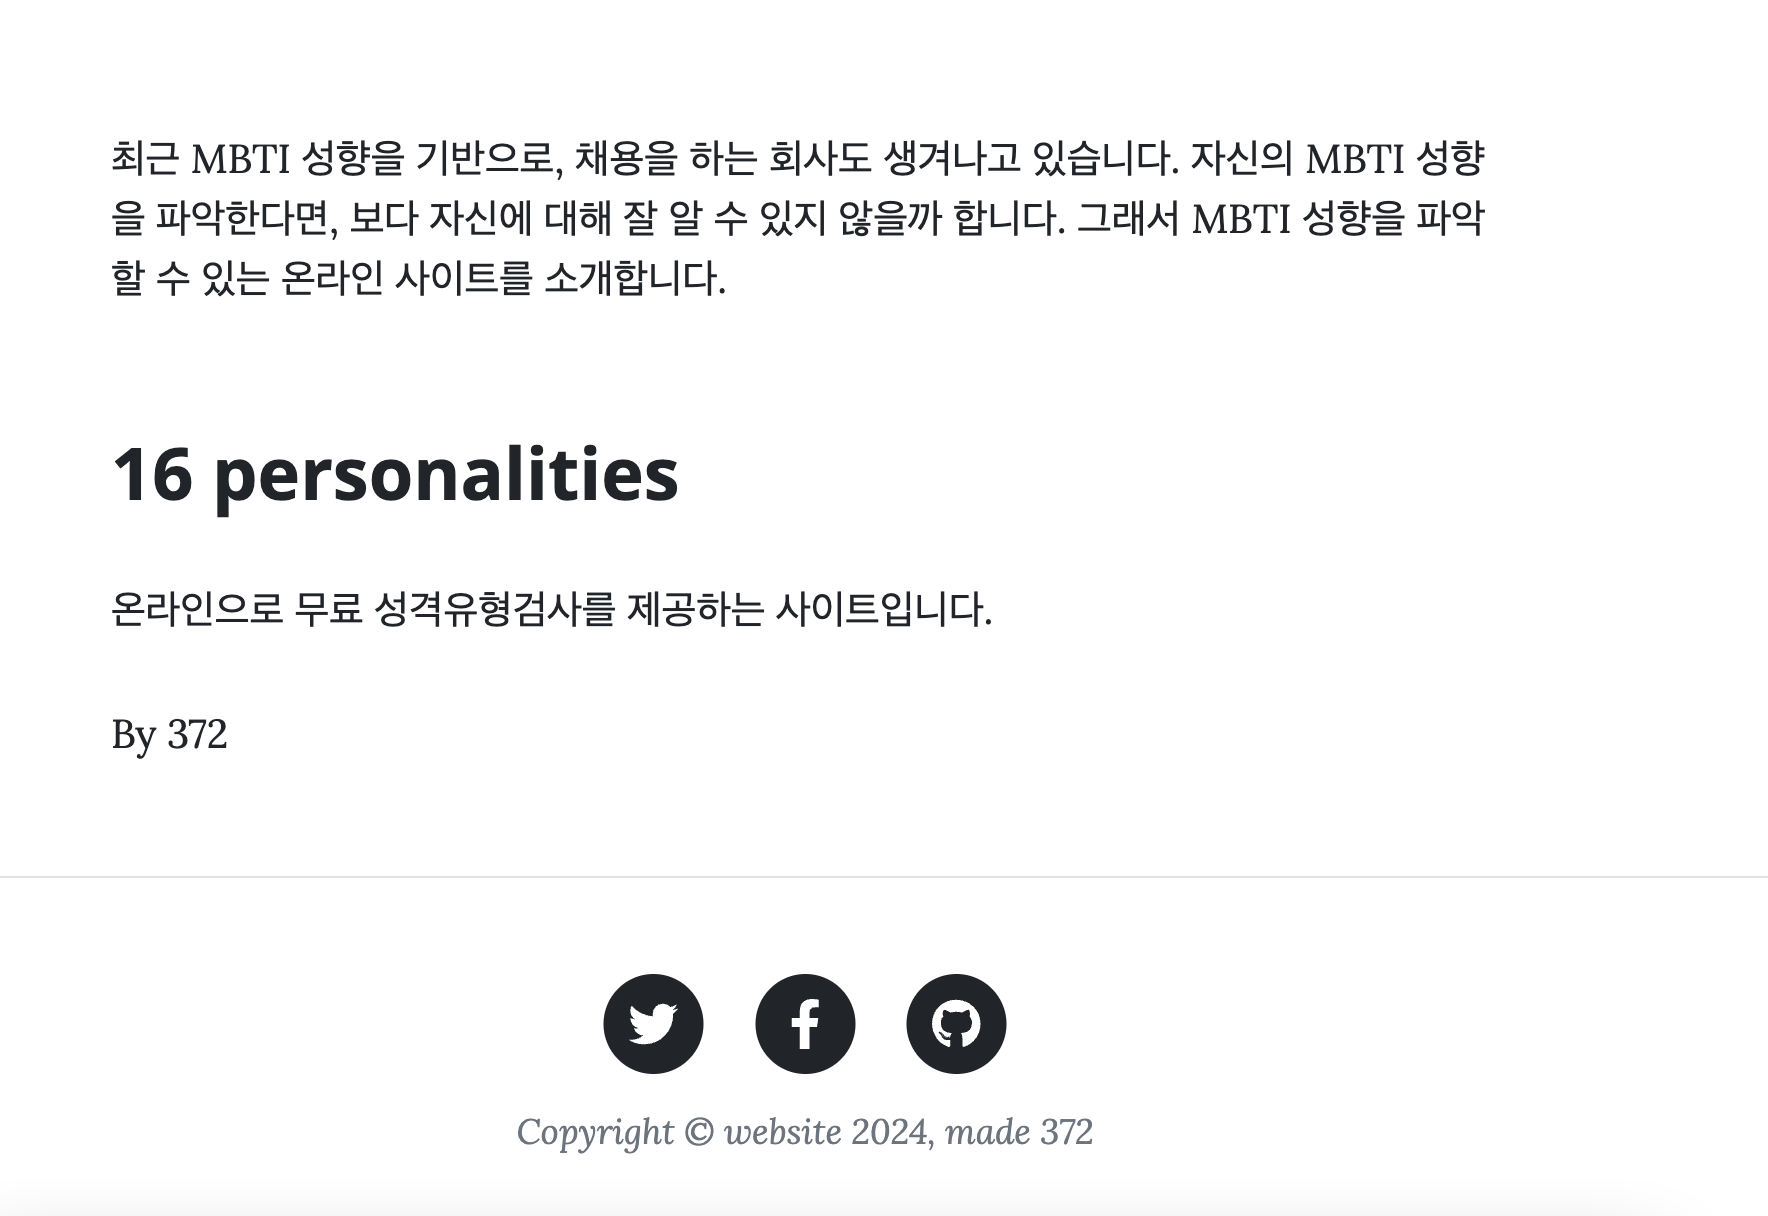
<p>최근 MBTI 성향을 기반으로, 채용을 하는 회사도 생겨나고 있습니다. 자신의 MBTI 성향을 파악한다면, 보다 자신에 대해 잘 알 수 있지 않을까 합니다.
그래서 MBTI 성향을 파악할 수 있는 온라인 사이트를 소개합니다.
</p>
<h2 class="section-heading"><a href="https://www.16personalities.com/ko/%EB%AC%B4%EB%A3%8C-%EC%84%B1%EA%B2%A9-%EC%9C%A0%ED%98%95-%EA%B2%80%EC%82%AC">16 personalities</a></h2>
<p>온라인으로 무료 성격유형검사를 제공하는 사이트입니다.</p>
<p>
By 372
</p><h2 class="section-heading"><a href="https://www.16personalities.com/ko/%EB%AC%B4%EB%A3%8C-%EC%84%B1%EA%B2%A9-%EC%9C%A0%ED%98%95-%EA%B2%80%EC%82%AC">16 personalities</a></h2>
URL 한글 포함 되어 있을 경우 EB%AC등 표시되는 이유는 ?
1.기본적으로 컴퓨터는 0,1로 이해할 수 있게 인코딩을 진행함
2.html에서 uni코드 라는 방식으로 인코딩하는데
3.URL 주소는 ASCII코드방식으로 인코딩함
4.헌데 ASCII코드에서는 한글 표현이 안되기때문에 , 한글표현이 가능한 값으로 변환하여 보여진다.
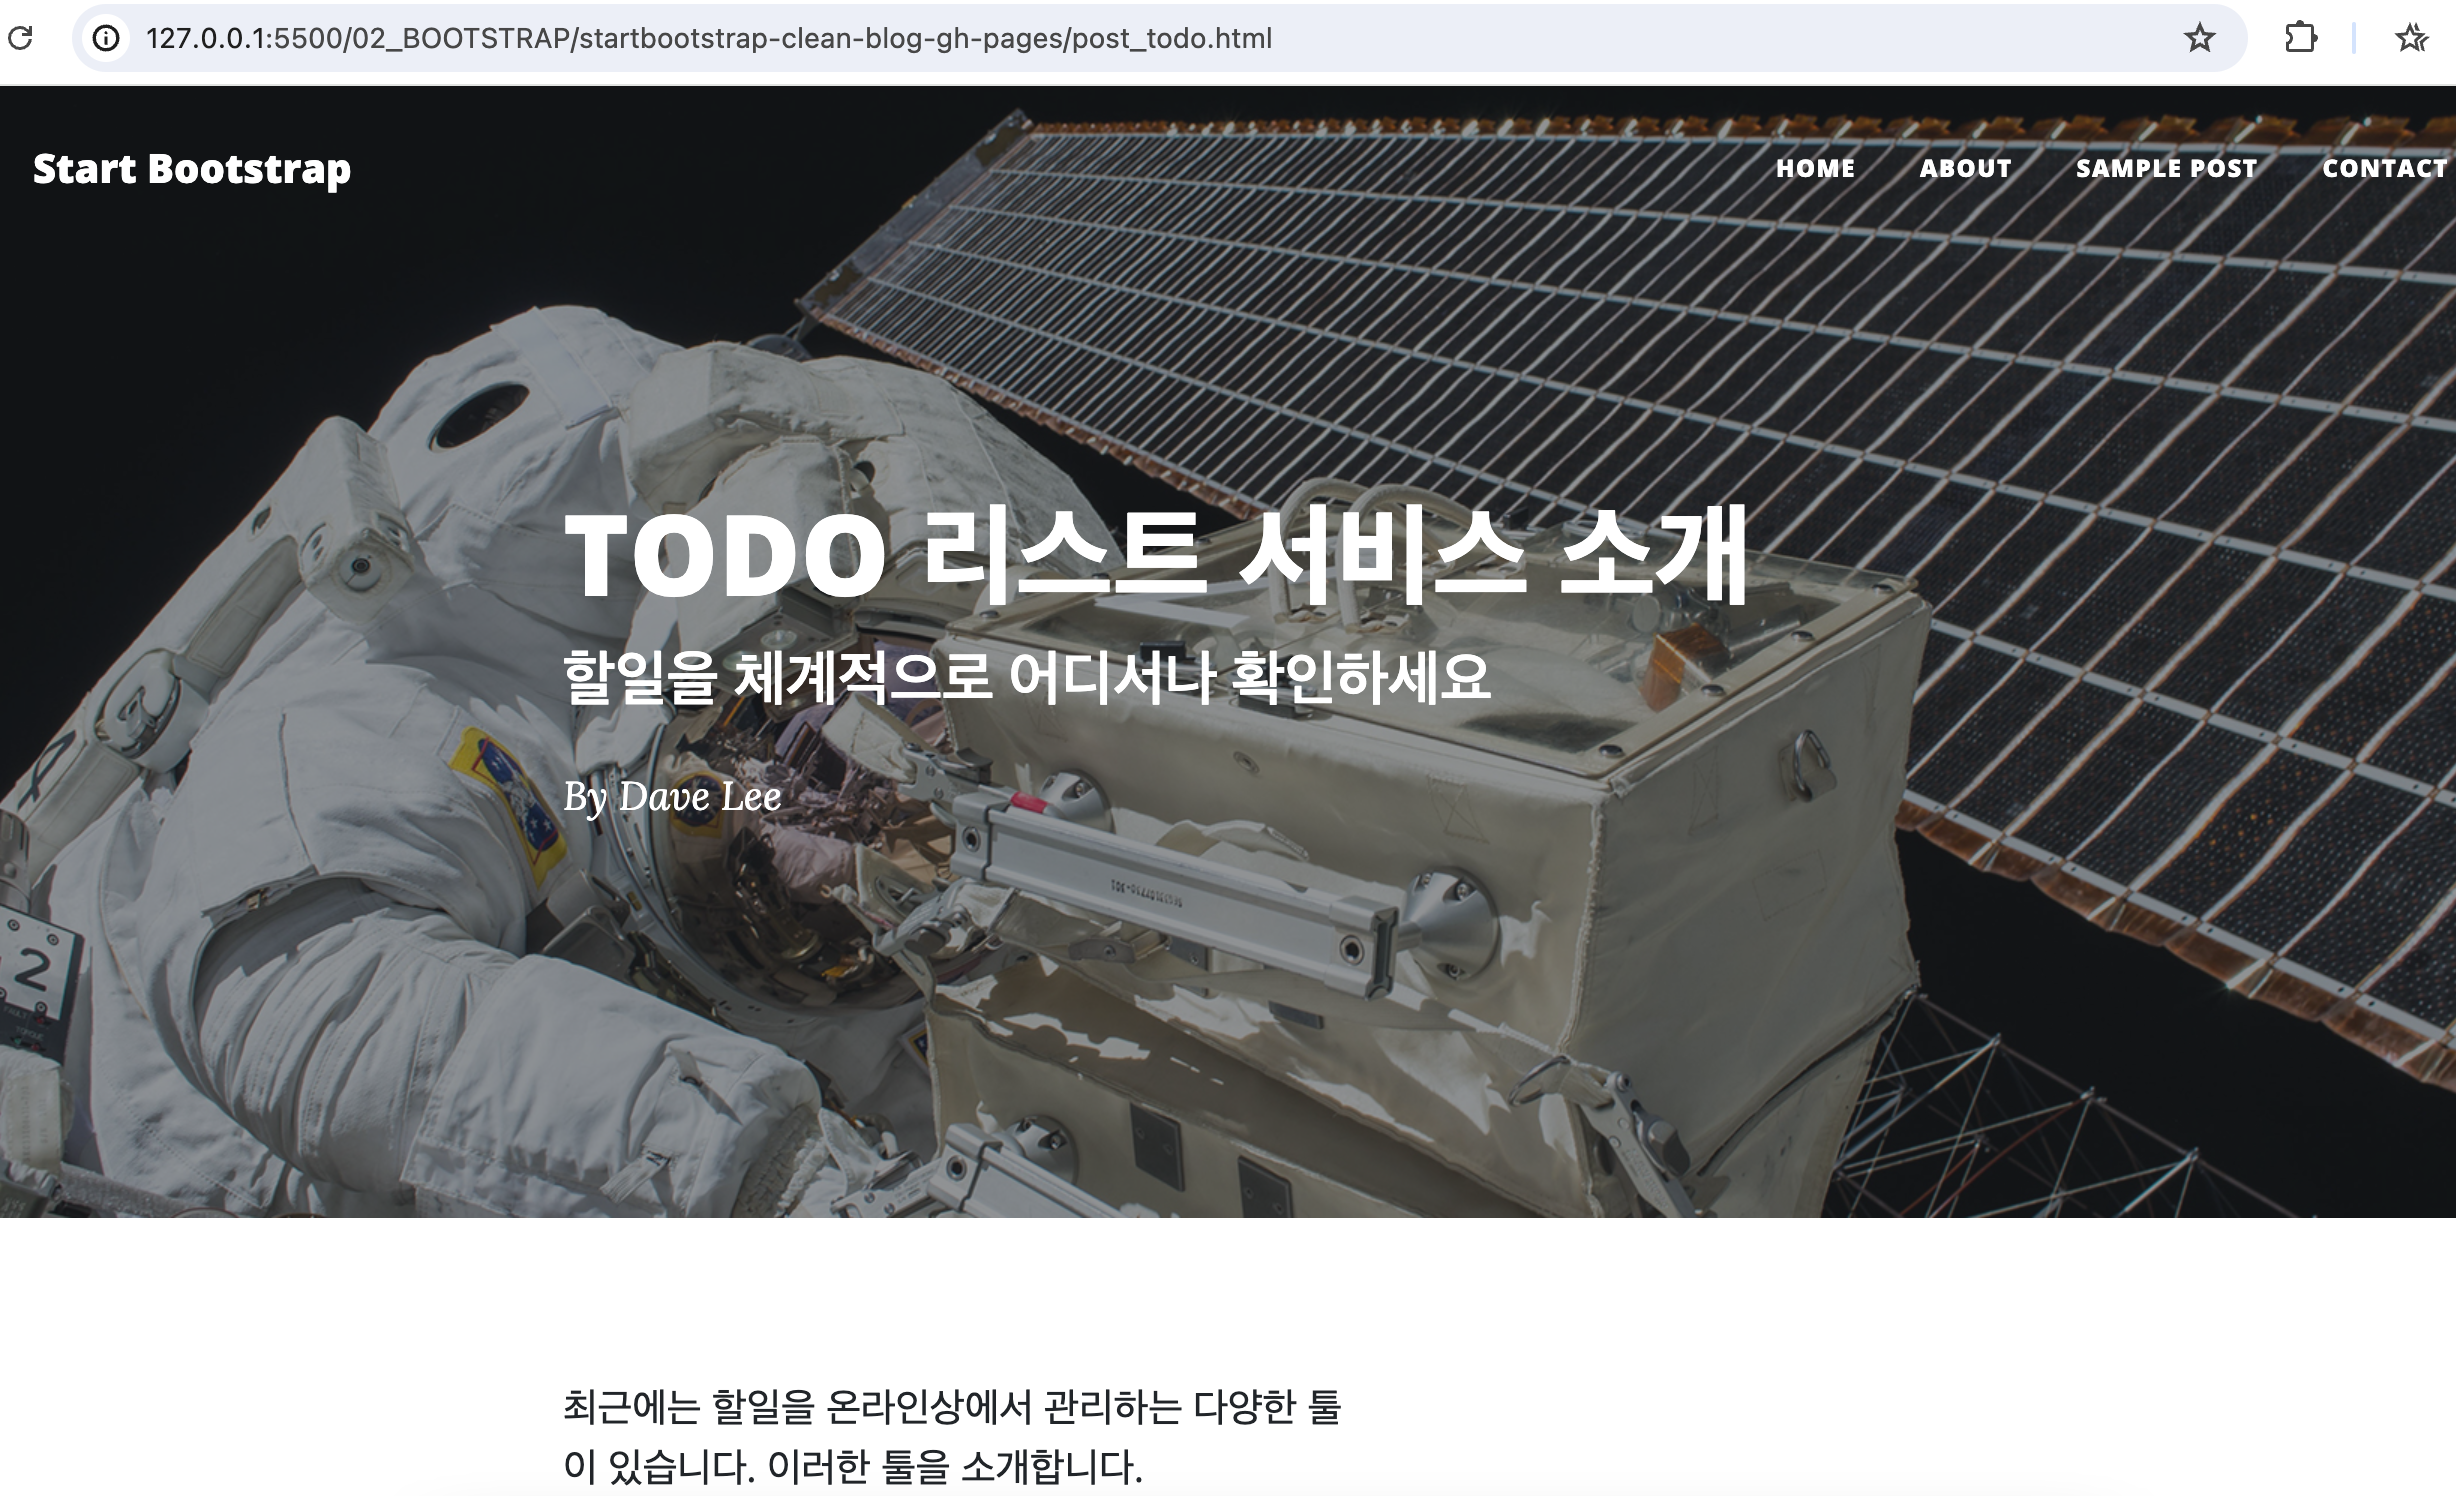
[post_todo.html 수정]
mbti를 복사해서 쓴다
이름변경완료

        <p>최근에는 할일을 온라인상에서 관리하는 다양한 툴이 있습니다. 이러한 툴을 소개합니다.
</p>
  <h2 class="section-heading"><a href="https://todoist.com/ko">todolist</a></h2>
  <p>체계적으로 TODOLIST 를 관리할 수 있는 툴입니다.</p>
<p>   372
</p>
[post_table.html ]
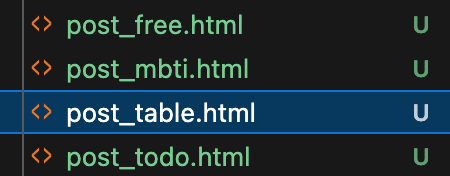
먼저 실습시 post_todo를 복사하여
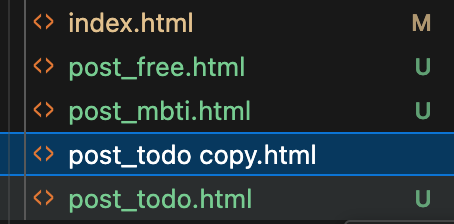
post_tables.html으로 만들고 작업한다.
[post_table에 적용시킬 샘플 ]
<table>
    <thead>
        <tr>
            <th>연봉</th>
            <th>월실수령액</th>
            <th>공제액(세금)</th>
        </tr>
    </thead>
    <tbody>
        <tr>
            <td>7,400만원</td>
            <td>5,031,896</td>
            <td>1,134,770</td>
        </tr>
        <tr>
            <td>9,200만원</td>
            <td>6,031,916</td>
            <td>1,634,750</td>
        </tr>
        <tr>
            <td>1억1000만원</td>
            <td>7,026,126</td>
            <td>2,140,540</td>
        </tr>
        <tr>
            <td>1억3400만원</td>
            <td>8,001,246</td>
            <td>3,165,420</td>
        </tr>
    </tbody>
</table>
아래 사이트의 테이블 양식을 참고한다.
https://getbootstrap.com/docs/5.3/content/tables/#overview
Tables
Documentation and examples for opt-in styling of tables (given their prevalent use in JavaScript plugins) with Bootstrap.
getbootstrap.com

5.1버전으로 보기

[<table class = "table>샘플을 적용시킴 ]
아래와같이테이블 클래스를 적용시켜야 한다.
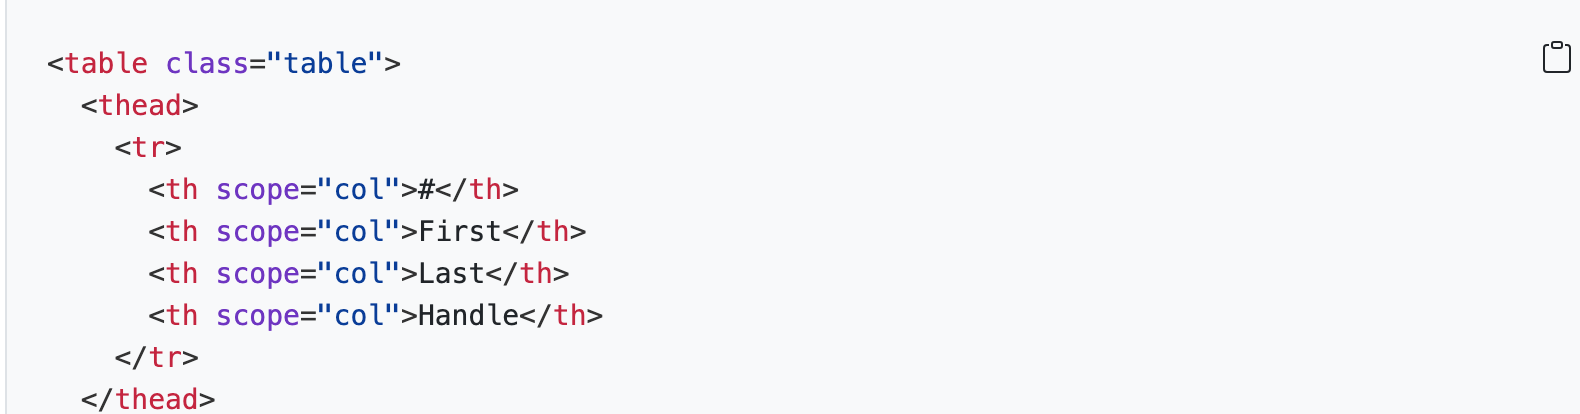
post.table.html에 적용시킨다.
기존 todolist에 <table class = "table"> 추가된 모습

[실행결과 ]

테이블에서 사용가능한 기타 옵션들도 사용가능하다.
[table class="table table-striped" 예제 적용 ]

[table class="table table-striped" 실행결과 ]

인덱스에 post_table.htmll 내용 적용하기


오늘은 여기까지입니다.
감사합니다.
====================================================
출처: IT UP, 코딩이 처음이어도 괜찮아! 진짜 입문자를 위한 웹개발과 IT 기초 지식
https://itup.co.kr/rv1/k-digital/main/lecture/info?course_uid=912417&education_uid=52212
잔재미코딩
'프론트엔드개발 > HTML,CSS,BS' 카테고리의 다른 글
| [Bootstrap]step.2 Bootstrap 템플릿 활용하기 (0) | 2024.07.02 |
|---|---|
| [Bootstrap]step.1 Bootstrap 사용 방법과 이해 (0) | 2024.07.02 |
| [CSS]step.14 CSS 클론 코딩(1) / CSS 쇼밍몰꾸미기 (0) | 2024.06.26 |
| [CSS]step.13 CSS 중급 position 이해 (0) | 2024.06.26 |
| [CSS]step.12 HTML5 시멘틱웹 / css 적용하기 실습 (0) | 2024.06.25 |


